DIY THANKFUL Burlap Banner: Easy Thanksgiving Wall Decor
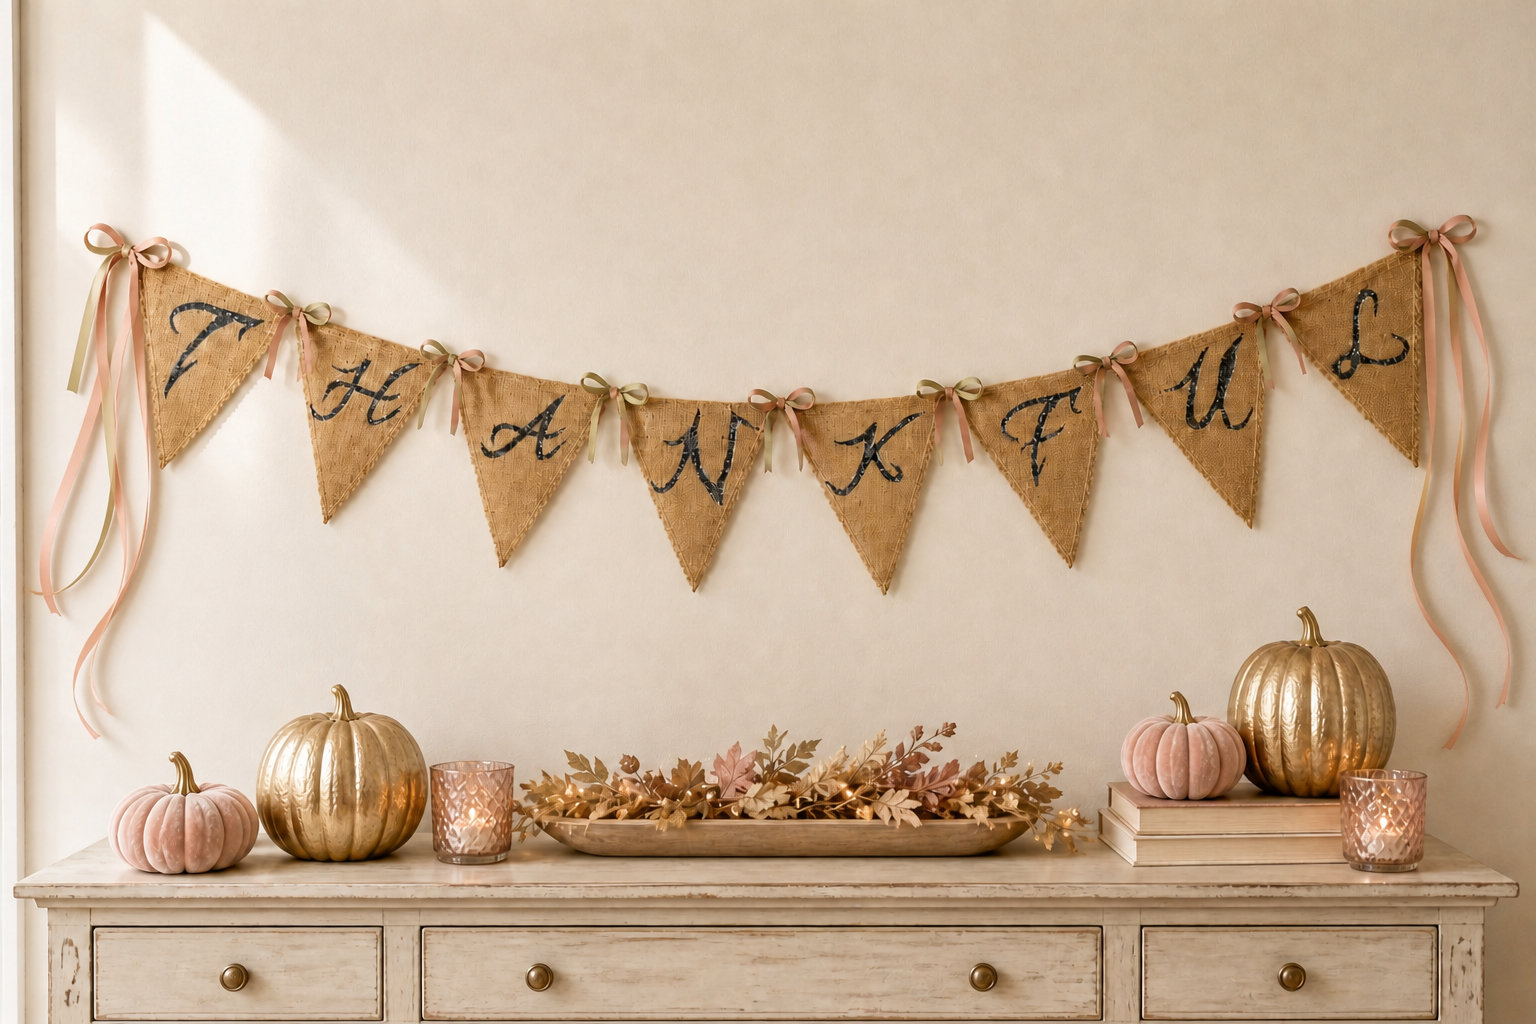
Add a little handmade charm to your Thanksgiving decorating with this pretty THANKFUL burlap banner!
Made with natural burlap triangles, bold black stenciled letters, shimmering silver accents, and pink-and-gold ribbon, this DIY wall decoration combines rustic warmth with a touch of feminine sparkle.
Hang it above your mantel, across an entryway, or on a wall where family and friends can enjoy it throughout the Thanksgiving season.
The best part? You can create this festive decoration with affordable craft supplies!
Supplies You’ll Need
- Walmart:
- Burlap fabric
- Pink ribbon
- Gold ribbon
- Black craft paint
- Silver glitter paint
- Paintbrushes
- Scissors
- Ruler or measuring tape
- Amazon:
- Letter stencils for THANKFUL (8 letters)
- Additional tools:
- Pencil or fabric marker
- Hot glue gun and glue sticks (if needed)
How to Make Your THANKFUL Burlap Banner
Step 1: Cut Your Burlap Pennants
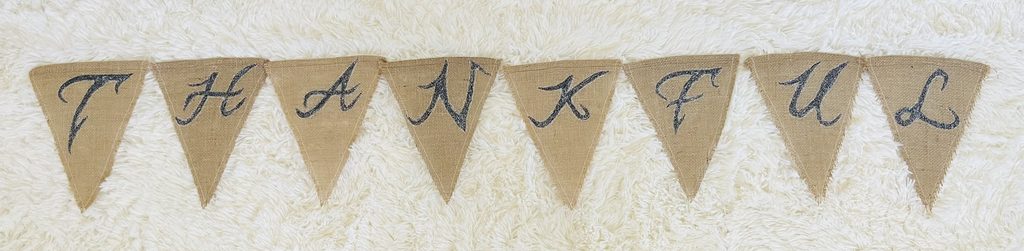
Cut eight burlap triangles, each measuring approximately 7.5 inches across the top. Shape the bottom of each piece into a point to create your banner pennants. Use your first triangle as a template to keep all eight pieces uniform. Handle the burlap carefully to minimize fraying.
Step 2: Stencil the Letters
Arrange the eight triangles in order to spell THANKFUL. Center one letter stencil on each triangle. Using black craft paint, carefully dab paint over each stencil. Avoid using too much paint at once because burlap has an open weave. Allow the black paint to dry before handling.
Step 3: Add the Silver Outline
Once the black lettering is dry, use silver glitter paint to outline each letter. Work carefully so the silver accent adds sparkle without overpowering the black lettering. Allow the paint to dry completely before moving on to the next step.
Step 4: Arrange Your Banner
Lay all eight pennants on a flat surface in the correct order to spell THANKFUL. Leave approximately 1.5 inches between each triangle, adjusting as needed for a balanced look. Make sure all letters face the same direction, and the spacing looks even before attaching the ribbon.
Step 5: Attach the Pink and Gold Ribbon
Position the pink and gold ribbons together along the top of your pennants. Allow enough ribbon to extend approximately 2 feet beyond each end for decorative hanging tails. Arrange the ribbons so they sit neatly across the top of all eight triangles. Secure the pennants to the ribbons using your chosen attachment method, making sure each triangle stays evenly spaced and firmly in place.
Step 6: Create the Hanging Tails
Leave approximately 2 feet of pink and gold ribbon extending from each end of the banner. Arrange the ribbons into flowing decorative tails. Trim the ends at an angle or into a V shape for a polished finish. These extra-long tails add a pretty finishing touch to your Thanksgiving decoration!
Step 7: Hang and Enjoy! 🎀
Hang your beautiful THANKFUL banner above your mantel, across an entryway, or on a wall where family and friends can enjoy it throughout the Thanksgiving season. The natural burlap, sparkling silver letters, and pretty pink-and-gold ribbon add a warm, festive touch to your home. 💗🎀 Step back, admire your handiwork, and enjoy your one-of-a-kind Thanksgiving creation! 🎀
Happy crafting from Crafter At Heart!