DIY Dollar Tree Halloween Wreath for About $25
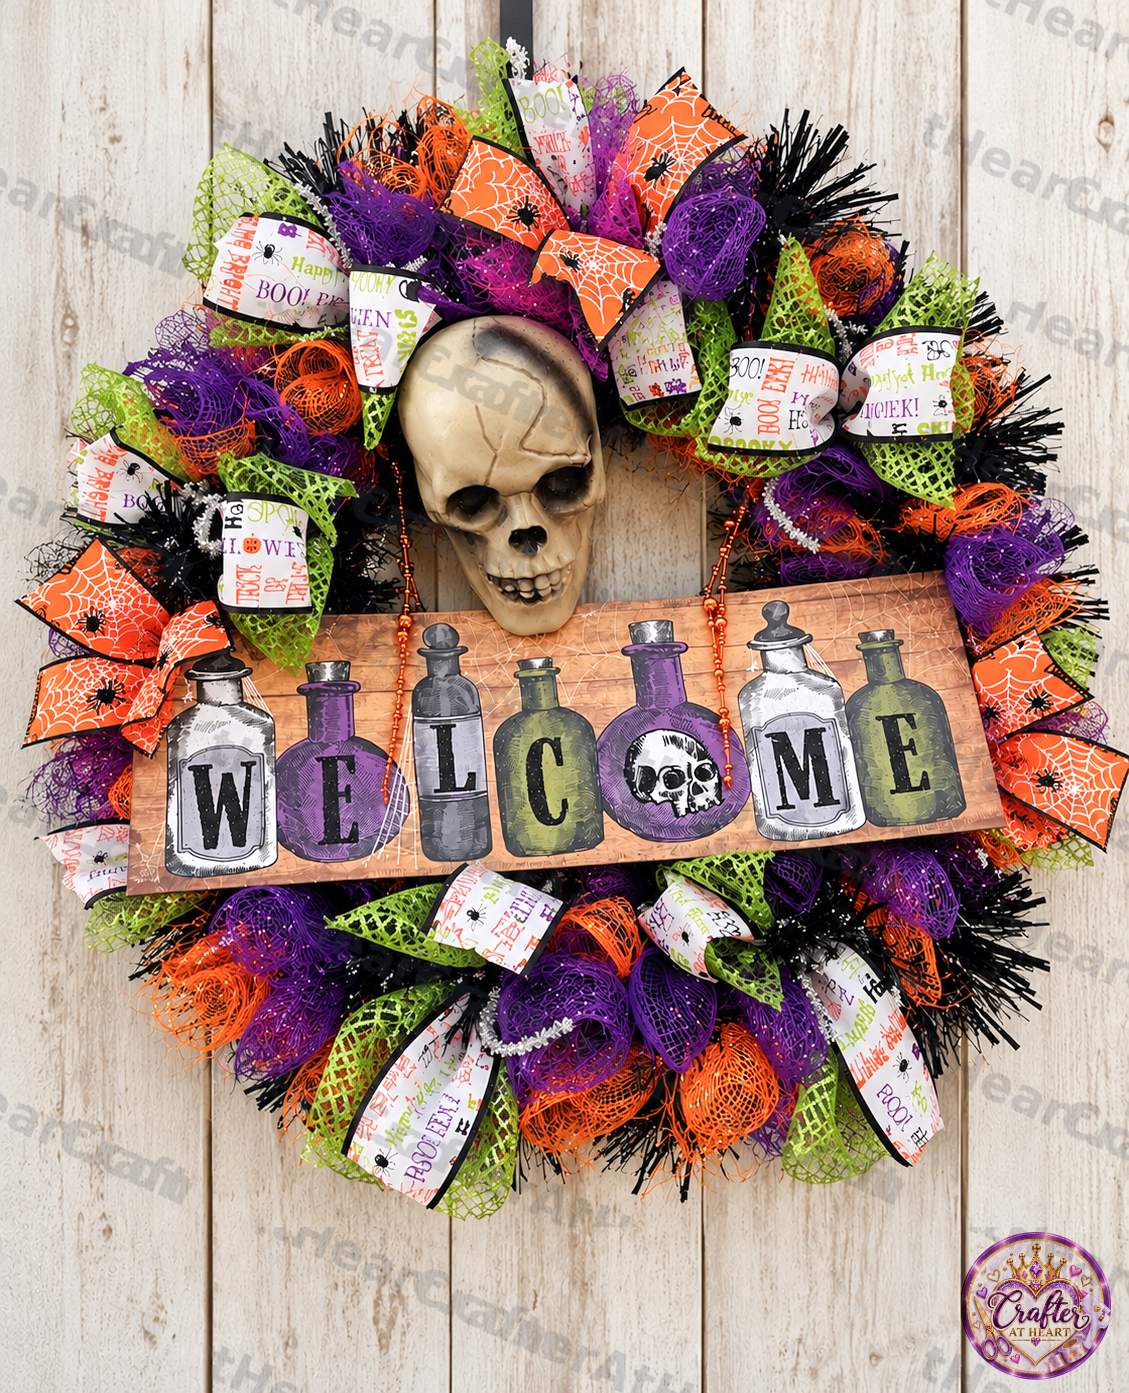
Ready to add a little spooky fun to your front door? 🎃 This DIY Halloween wreath combines vibrant purple, orange, and lime-green colors with spooky accents to create a festive decoration on a budget.
Whether you’re decorating your own home or looking for a fun seasonal craft, this beginner-friendly project is a great way to get creative without spending a fortune.
Let’s gather our supplies and make a Halloween wreath that welcomes guests with a little fright and plenty of fun!
Supplies You’ll Need:
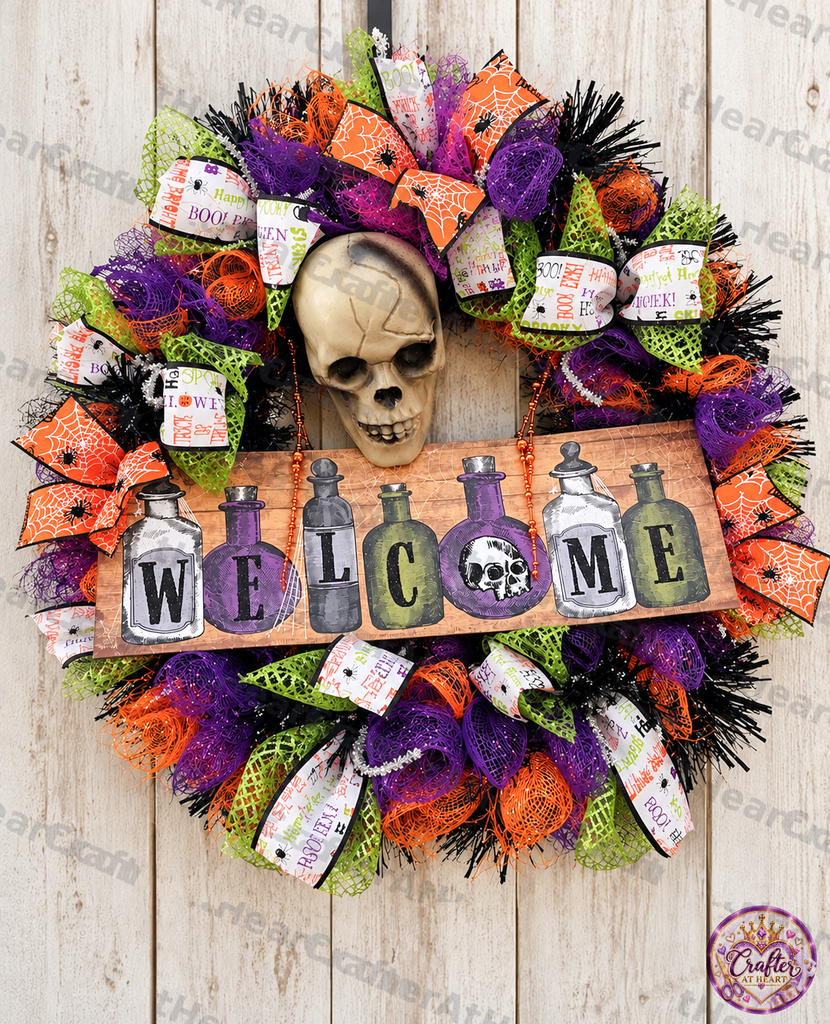
- 18-inch wire wreath frame
- Halloween garland
- Halloween ribbon
- 3 rolls Purple deco mesh
- 3 rolls Orange deco mesh
- 3 rolls Lime-green deco mesh
- Pipe cleaners or wreath ties
- Spooky decorative skull accent
- Halloween “WELCOME” sign
- Skull bead necklace
- Hot glue gun
- Rotary fabric cutter or scissors
- Additional embellishments (optional)
How to Make Your DIY Halloween Wreath
Step 1: Prepare Your Wreath Frame
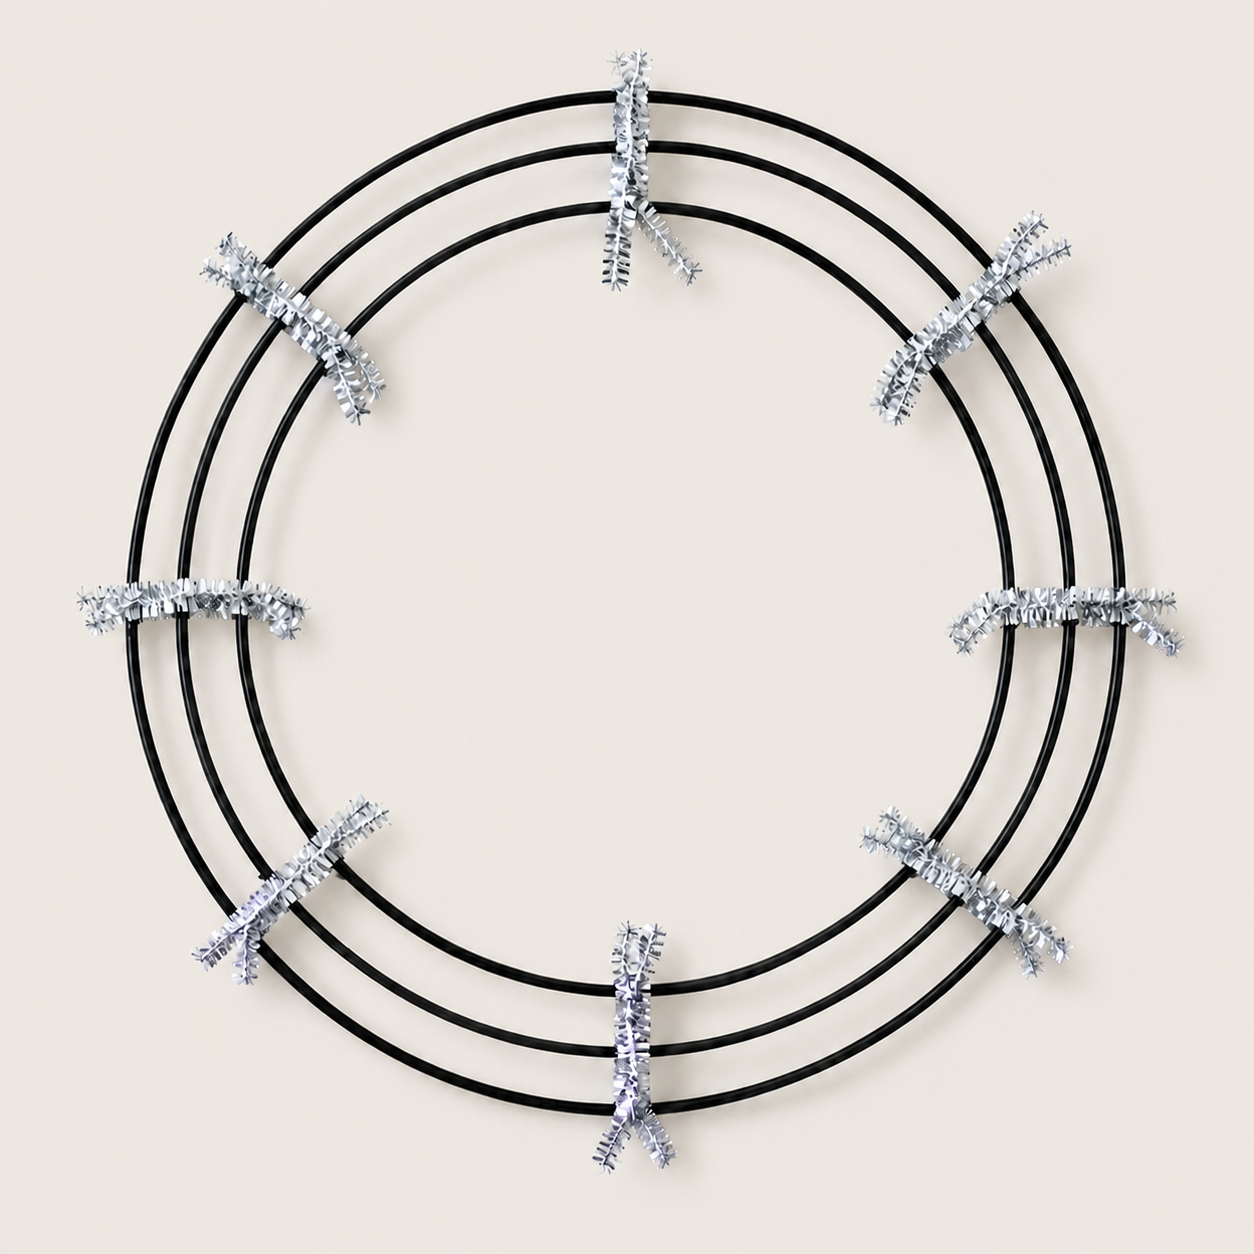
Lay your 18-inch wire wreath frame on a flat work surface. Gather your pipe cleaners or wreath ties and cut them in half. Attach the ties evenly around the frame so they’re ready to secure the mesh and decorations.
Step 2: Attach the Halloween Garland
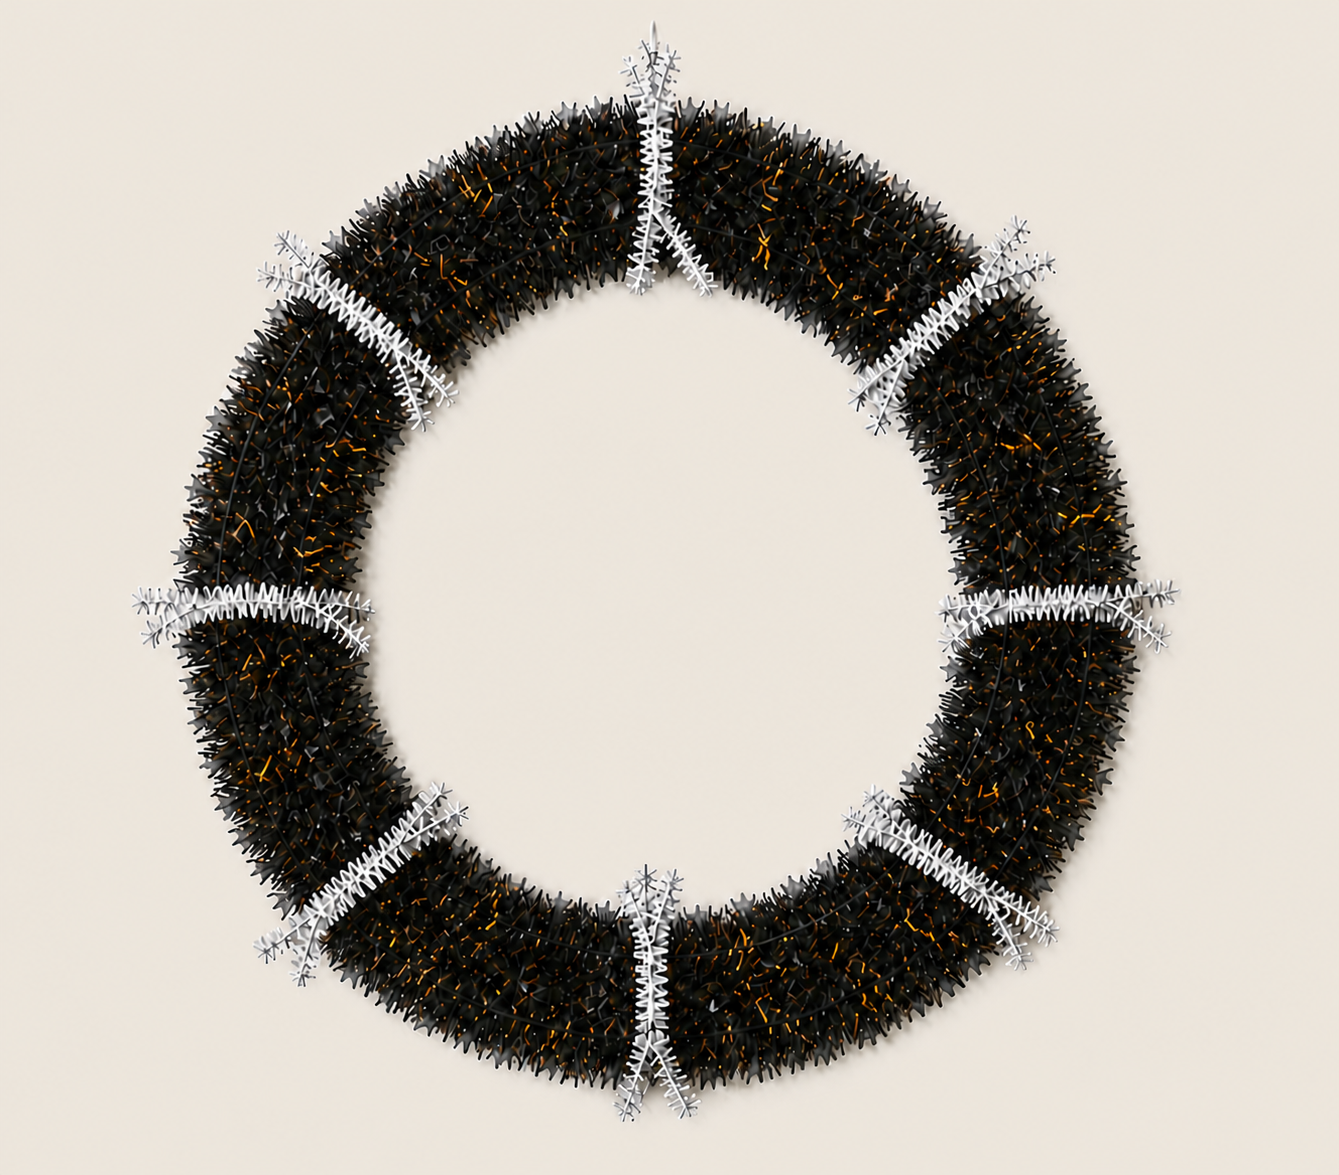
Wrap the Halloween garland around your wire wreath frame, weaving it through the frame. Secure it with the pipe cleaners or wreath ties. Space the garland out, around the frame to create a festive base, and make sure it is firmly attached before adding the mesh.
Step 3: Add the Colorful Deco Mesh
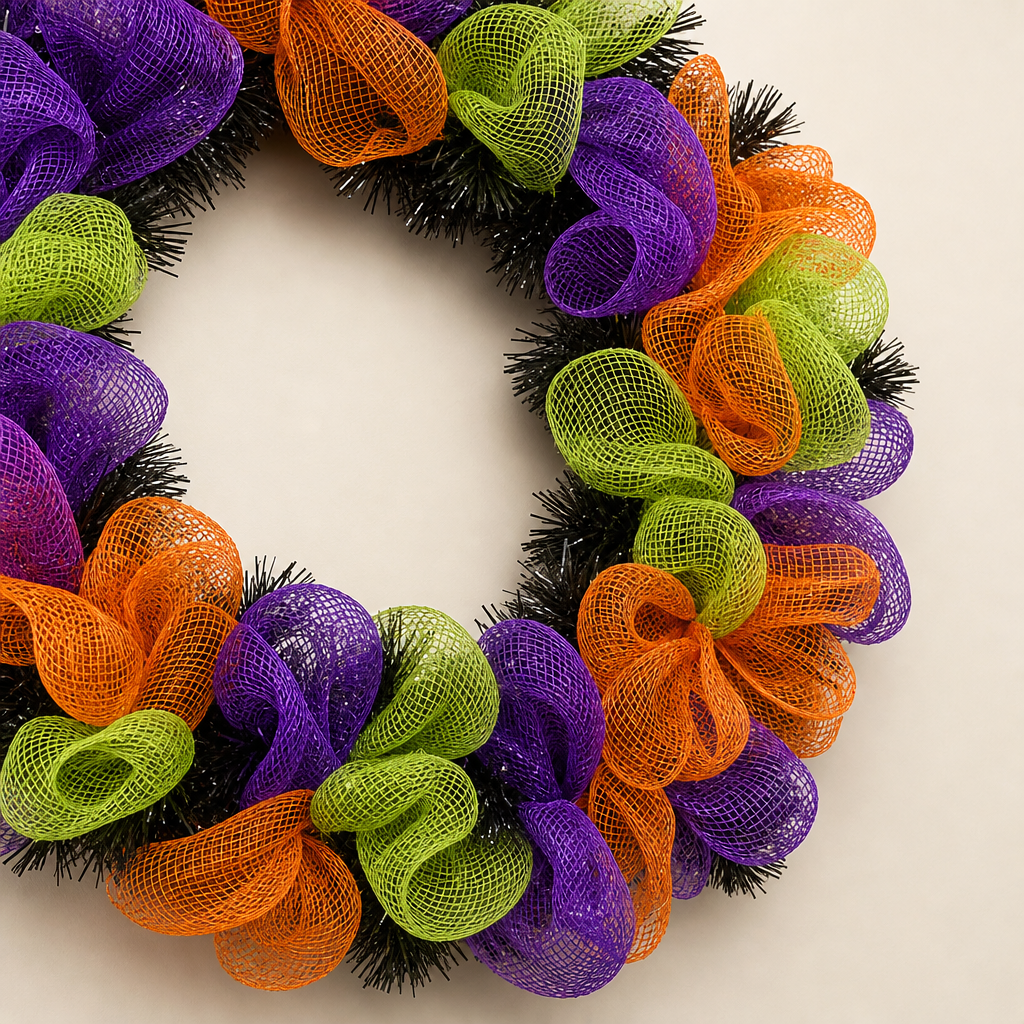
Cut your purple, orange, and lime-green deco mesh into manageable sections. Gather each section in the center to create a fluffy bundle, then secure it to the wreath frame using your pipe cleaners or wreath ties. Alternate the colors around the frame to create a bright, playful Halloween look. Fluff the mesh as you go to fill gaps and give your wreath plenty of volume.
🎃Tip: Keep the mesh bundles evenly spaced and adjust the colors (placements) to your liking.
Step 4: Add the Halloween Ribbon
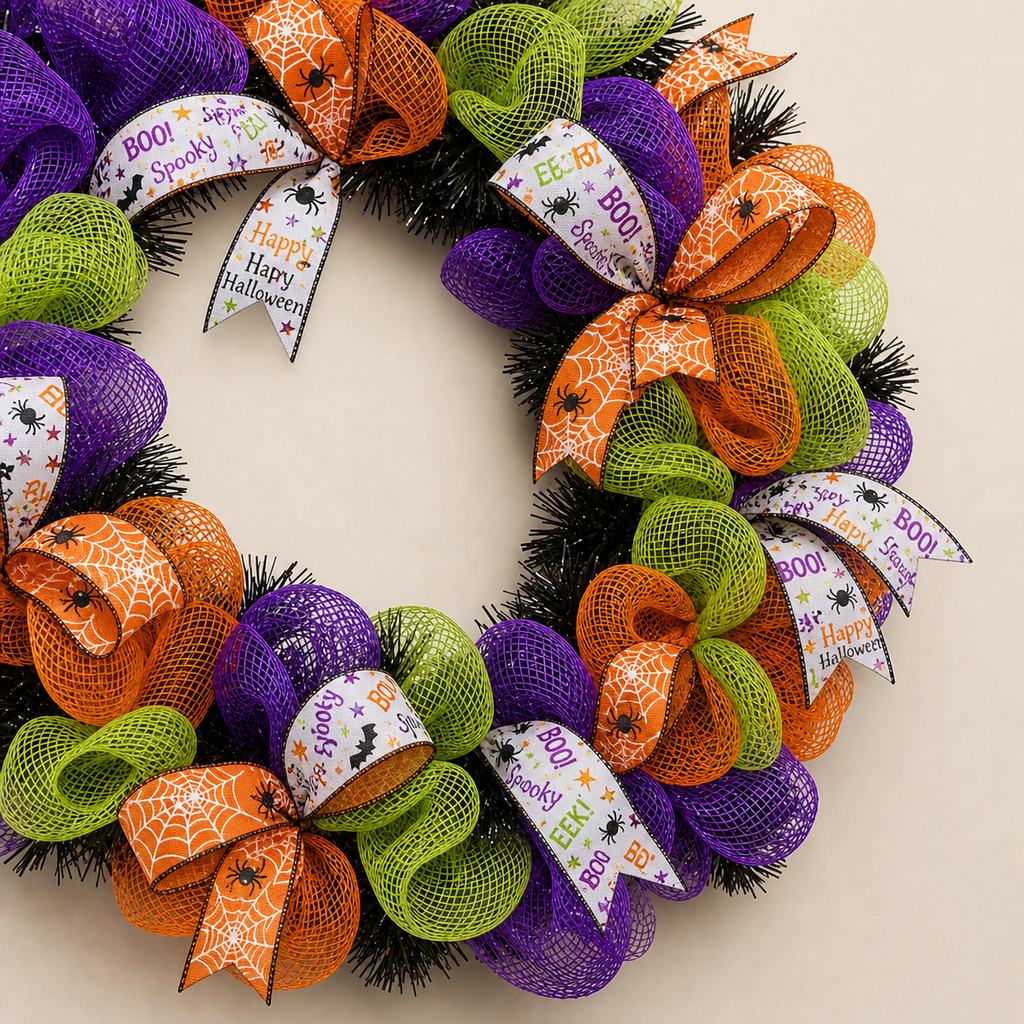
Cut the Halloween ribbon into your desired lengths. Use pipe cleaners or wreath ties to attach the ribbon pieces around the wreath frame, mixing them in with the purple, orange, and lime-green mesh. Arrange the ribbon evenly to add contrast, texture, and extra Halloween flair. Adjust the loops so the ribbon stands out beautifully against the mesh.
🎃Tip: Step back from your wreath occasionally to check the color balance and fill any gaps for a full, festive look.
Step 5: Add Spooky Halloween Accents
Position the spooky skull accent and Halloween “WELCOME” sign on your wreath, arranging them so they stand out against the colorful mesh and ribbon without covering too much of your design. Place one skull bead necklace on each side to frame the decorations and add extra Halloween flair.
Before securing everything, adjust the placement of the skull, WELCOME sign, and both necklaces until you’re happy with the overall look. Use a hot glue gun to secure the decorations in place, then gently check that everything is firmly attached before moving on.
🎃SafetyTip: Allow the hot glue to cool completely before handling or hanging your wreath.
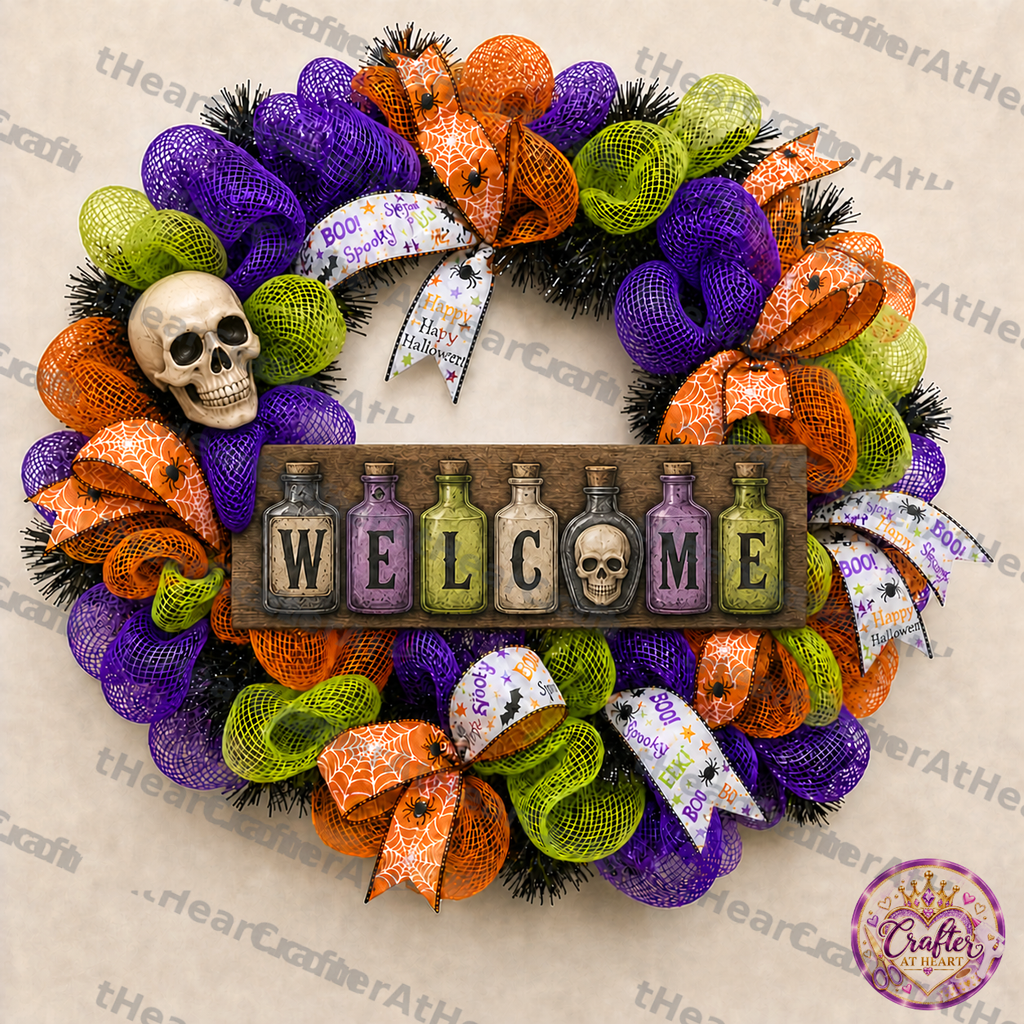
Step 6: Fluff, Adjust, and Viola!
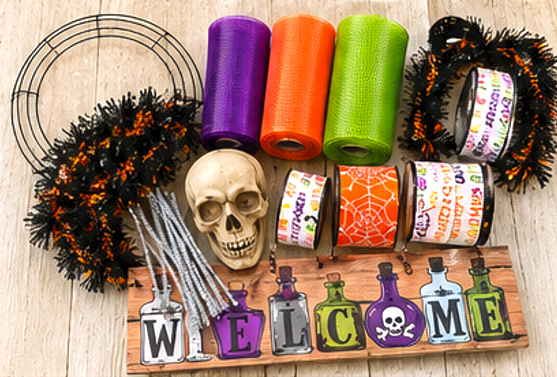
Give your wreath the finishing touch. Gently fluff the mesh and adjust the ribbon loops so the colors and textures look balanced. Fill any gaps that stand out and make sure the skull and “WELCOME” sign are secure before hanging. Once everything looks the way you want, your DIY Halloween wreath is ready to display!
🎃Final Tip: Hold the wreath upright before hanging it to check that the decorations stay in place and your design layout looks balanced.
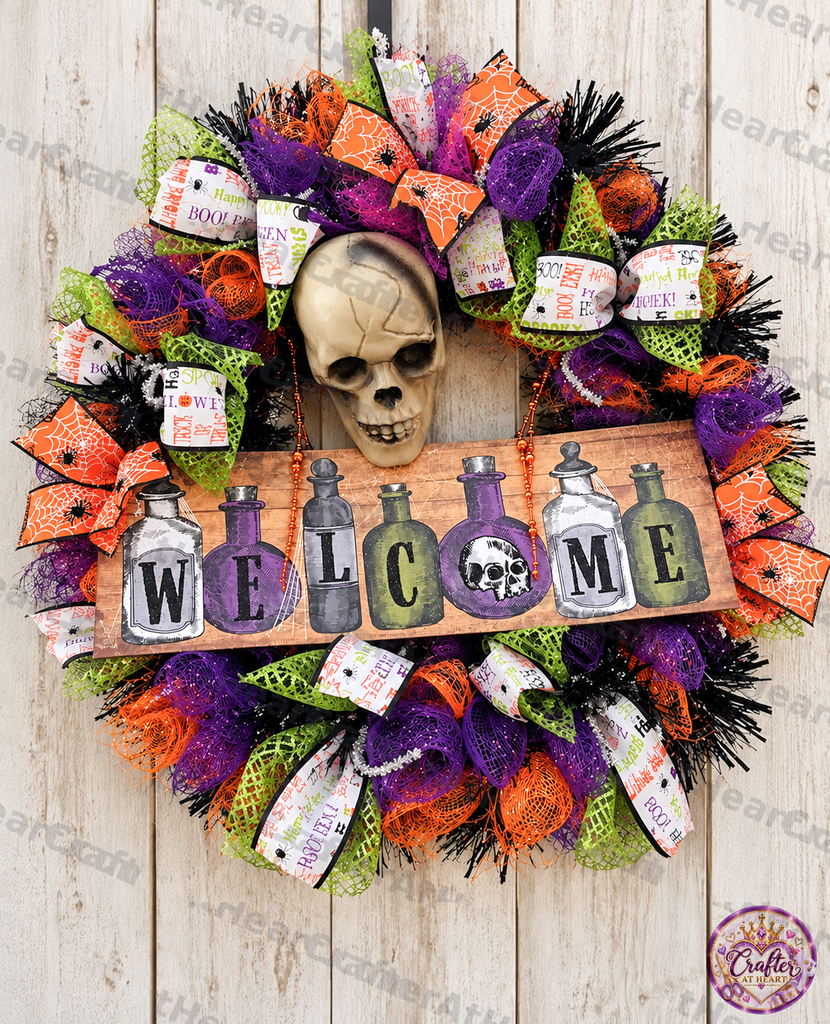
Enjoy Your DIY Halloween Wreath! 🎃
Your Halloween wreath is a fun and festive way to welcome guests and celebrate the spooky season. With purple, orange, and lime-green mesh, festive ribbons, and Halloween accents, you can create a decoration that reflects your own style and imagination.
Did you make this wreath? 🎃 We’d love to see how yours turned out! Visit us on Instagram to share your Halloween creations and discover more crafty inspiration.
Happy crafting from Crafter At Heart! 💜